Extract the zipped package downloaded from ThemeForest to your desktop, in the extracted package you will find the banca.zip (banca_version.zip) file which is the WordPress theme.
nnnnYou can install the theme in two ways:
nnnnUpload Method
nnnn1. Navigate to Appearance > Themes.
nnnnLog in to your WordPress dashboard and go to Appearance in the menu on the left of the dashboard and select Themes.
nnnn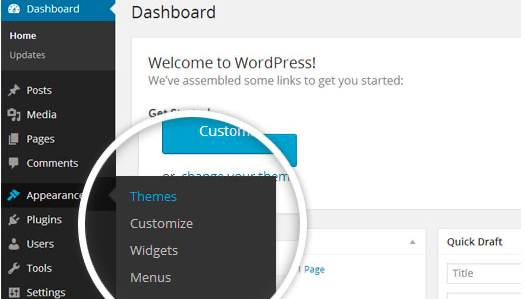
2. On the themes page, select Add New at the top of the page.
nnnn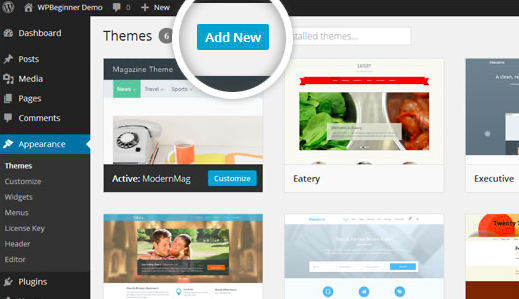
3. After clicking on the Add New button, select the Upload Theme button.
nnnn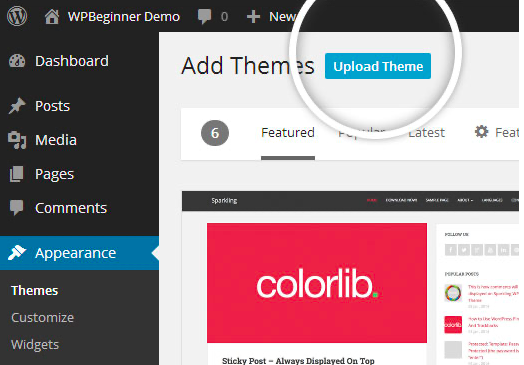
4. Upload and install the file.
nnnnAfter selecting Upload Theme, click Choose File. Select the theme .zip folder you’ve downloaded, then click Install Now.
nnnn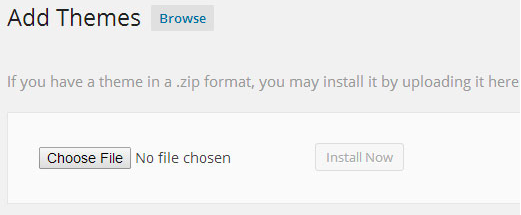
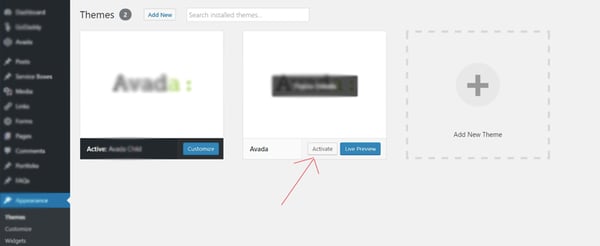
5. Click Activate once complete.
nnnnAfter clicking Install, a message will appear that the theme installation was successful. Click Activate to make the theme live on your website.
nnnn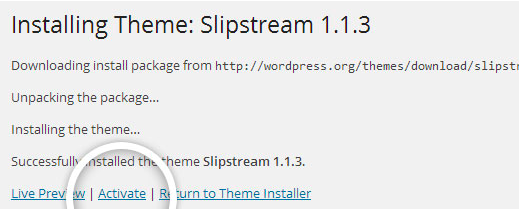
FTP Method
nnnnIf you can not install the theme by following the above method, you can try this method.
nnnn1. Download FTP Client to your computer.
nnnnTo begin this process, you will need to download an FTP Client to your computer. This is a software tool that allows you to access and add or delete files on your website server.
nnnn2. Create an FTP account through your hosting provider.
nnnnNext, you’ll need to gain access to your hosting provider account through the FTP Client. Usually, you will have to set up your own FTP user account within your hosting dashboard, however, it is a different process for every hosting provider. Typically, the hosting provider gives you a username and password when you make a new account, which you’ll need when creating your FTP Client account.
nnnn3. Download your theme and unzip the file.
nnnnIf you don’t already have your theme file downloaded to your computer, download it now. Certain companies provide more in the download folder than you need to upload your theme, so be sure to just download the .zip file. Once you’ve downloaded your files, you’ll need to unzip and compress your file. You can do this by simply right-clicking the .zip file, then selecting Extract.
nnnn4. Upload the theme folder to WordPress to install.
nnnnWithin the FTP Client, find the root of your WordPress install. Next, go into the wp-content folder, and select Themes. Upload the entire folder you unzipped here.
nnnn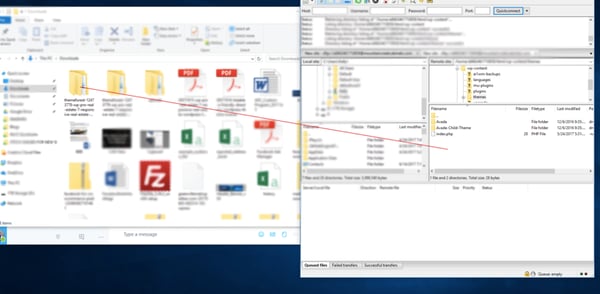
5. Activate the theme from your WordPress dashboard.
nnnnAfter uploading the theme, you have to activate it. Navigate to [direction]Appearance > Themes[/direction] page to activate the theme. You should see your new theme as an option under your downloaded themes. Select the new theme and click Activate to make the theme live on your website.
nnnn